Displace Map
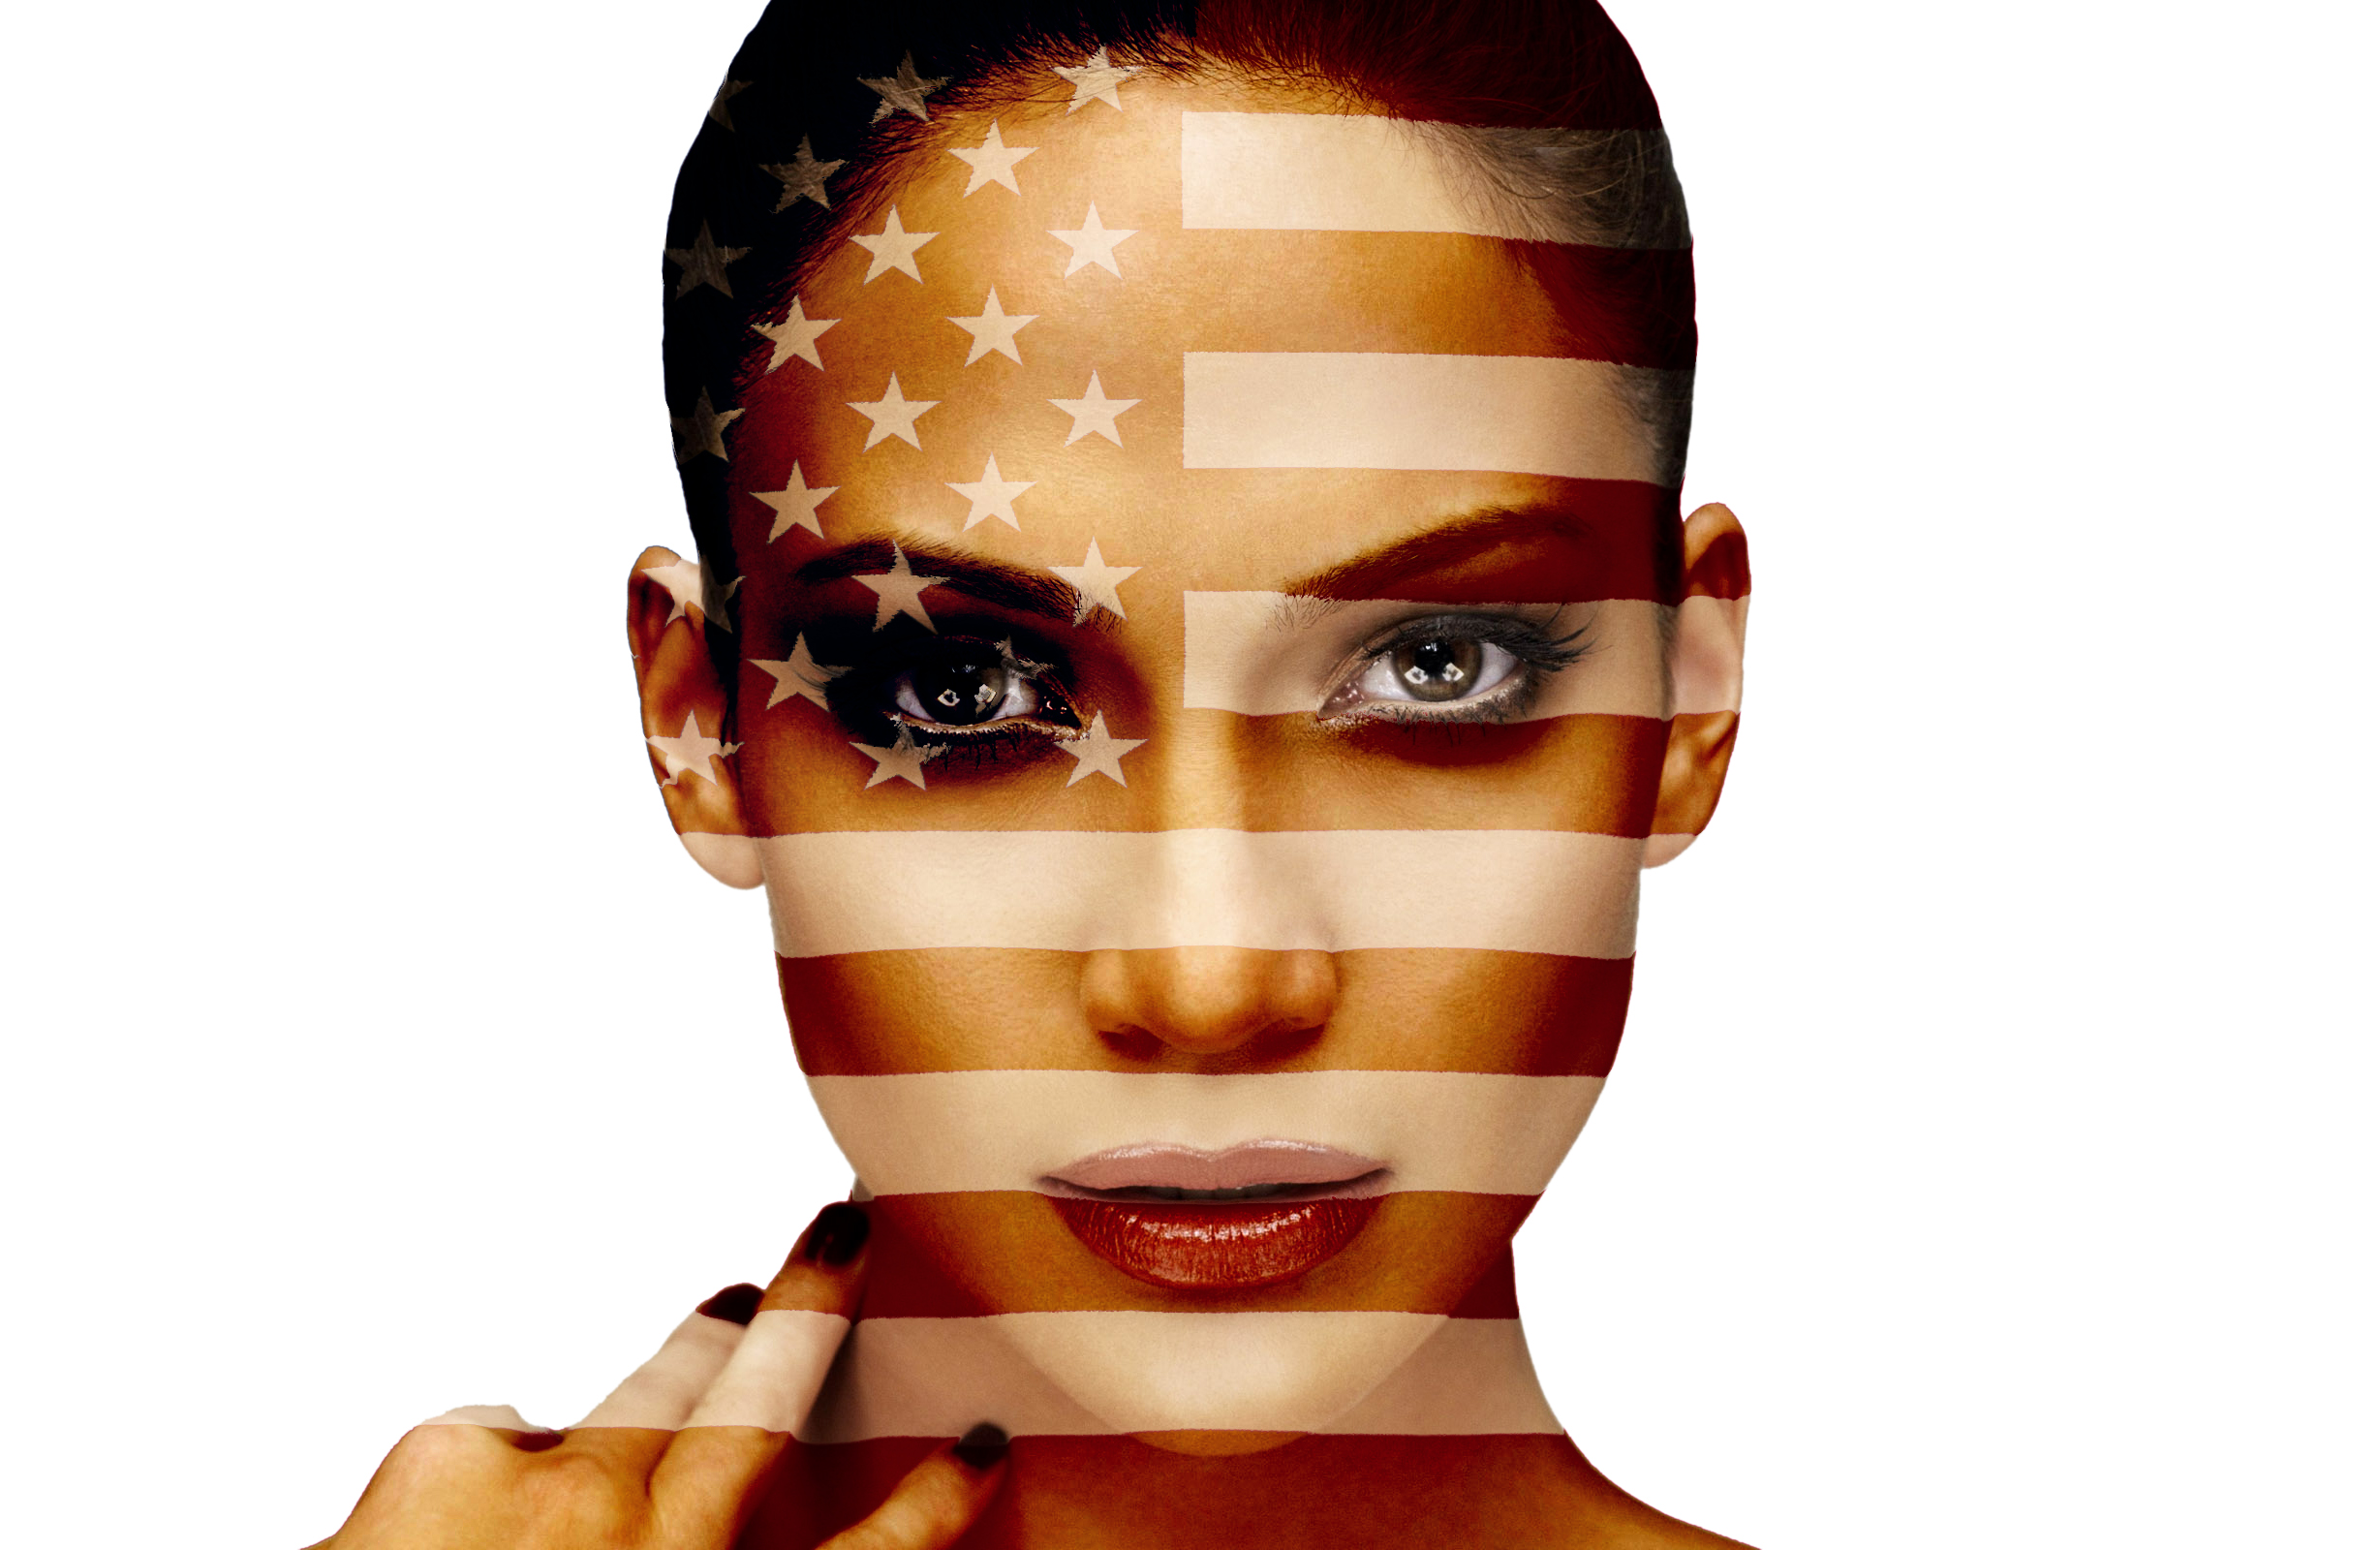
1. Find two images. One will have a 3D quality to it, the Second will be a flat decal or logo.
(The flat logo will be distorted to simulate the 3D contours of the first image)
2. Open the 3D image. Create a Blank Layer. Copy the logo into a blank layer.
3. Transform the logo so that it covers the 3D object completely.
4. Use your Crop Tool set to "delete cropped pixels" and crop to the document bounds (eliminating any extra pixels from the logo layer).
Turn Off the logo layer.
5. With only the 3D layer visible, click on Channels. Isolate the color channel with the most contrast by only showing it and click on it.
Select All
Right-Click and "duplicate channel". Choose "new" from the drop-down menu. Save as displaceMap. Save the new image as: "displaceMap.psd"
A new image will now be open and active which is exactly like the channel that you saved. Close this new image file.
6. Click on original image, in Channels, click on RGB, then return to Layers.
7. Turn On the logo layer. Make a copy of this layer and move it to the top and make it active.
Filter > Distort > Displace >
Use the default settings in the pop-up window.
find your displaceMap.psd file.
8. Apply or Copy Masks, Change Blend Modes, Opacity Settings etc. for desired effect.
Do Not move either of the layers on the canvas. They are now dependent on each other to achieve the displace effect. You can duplicate each of the layers and change the layer order.
9. Save the file.
* cycle through Blend Modes by holding down Shift and the + or - (while on the Move Tool)
online tutorial (basic): http://photoshopcafe.com/tutorials/dispmap/dispmap.htm