e6 / Panorama:
Turn in:
folder: lastname_e6
lastname_e6.psd (all layers intact)
- Select a landscape-based subject.
- Shoot at least 3 images (I recommend more than 3).
- Be sure to line up the horizon with each shot.
- Also make sure that you are over-lapping each shot (20% over-lap).
- Keep your exposure settings consistent for each shot (meter based on an area in your scene that is neither too dark nor too bright).
- Use Automation through Bridge or Photoshop: Photomerge.
- Rotate or straighten your image based on the horizon (if you need to).
- Crop your image so that the edges are smooth and straight.
- Save your image as: lastname_e6.psd
There are many different techniques to shoot panoramas. The instructions above are the most common. Though, if you are interested in maximizing your viewable area you might try a few more techniques:
- Shoot 2 rows. Move across your scene first, and then down and across. This can be difficult in keeping your over-laps consistent.
- Shoot in Vertical orientation (Portrait - as opposed to Horizontal / Landscape). This will give you more viewable area up and down, but a bit trickier when creating your over-laps because of the reduced width. This technique in general is easier than shooting for 2 rows.
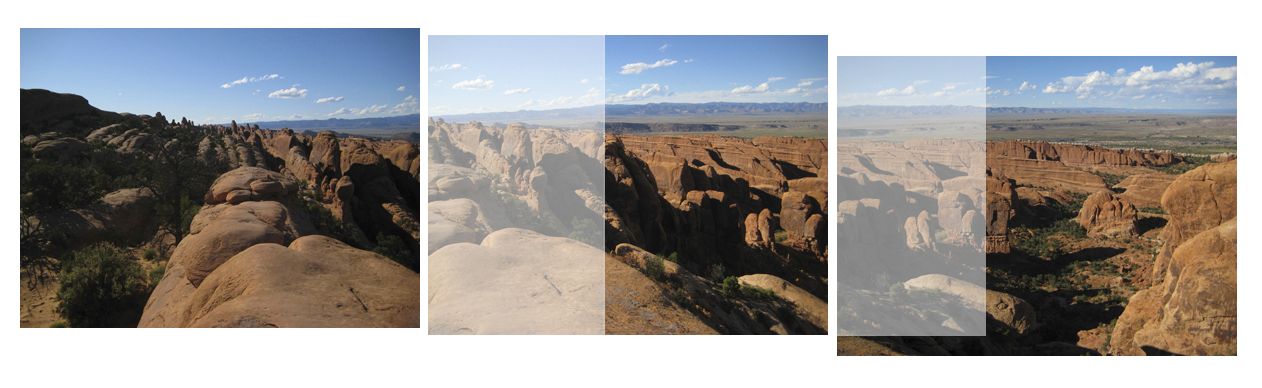
This image example shows the area that was over-lapped. It also indicates a shift vertically between shots that will result in my image needing a more than desired crop.
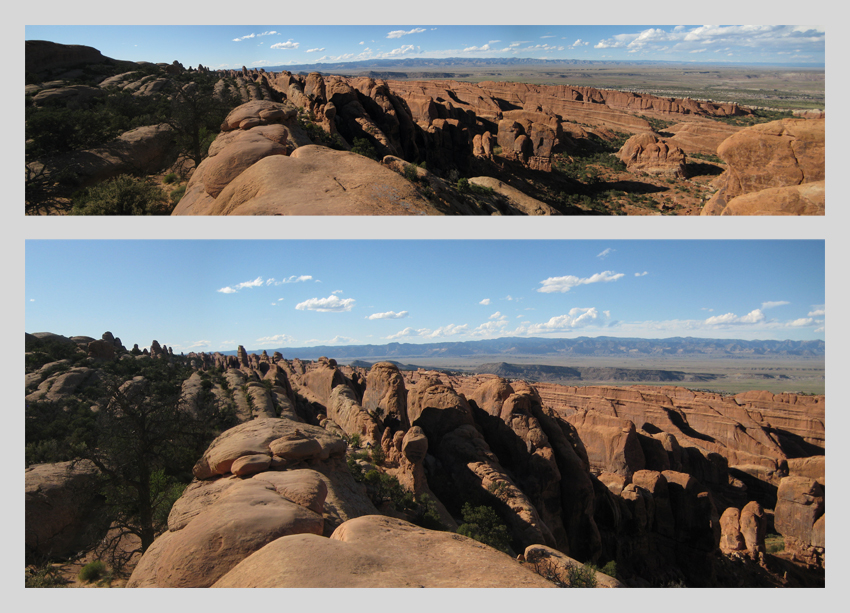
These image examples show the difference between combining 3 vs. 4 images. Because my horizon shifted in the 4th image, I lost a bit of sky and also ground. By eliminating the shifted image, I retained more of my image vertically. The advantage of using the 4th image is that it shows the vastness of the landscape.
Turn in:
folder: lastname_e6
lastname_e6.psd (all layers intact)